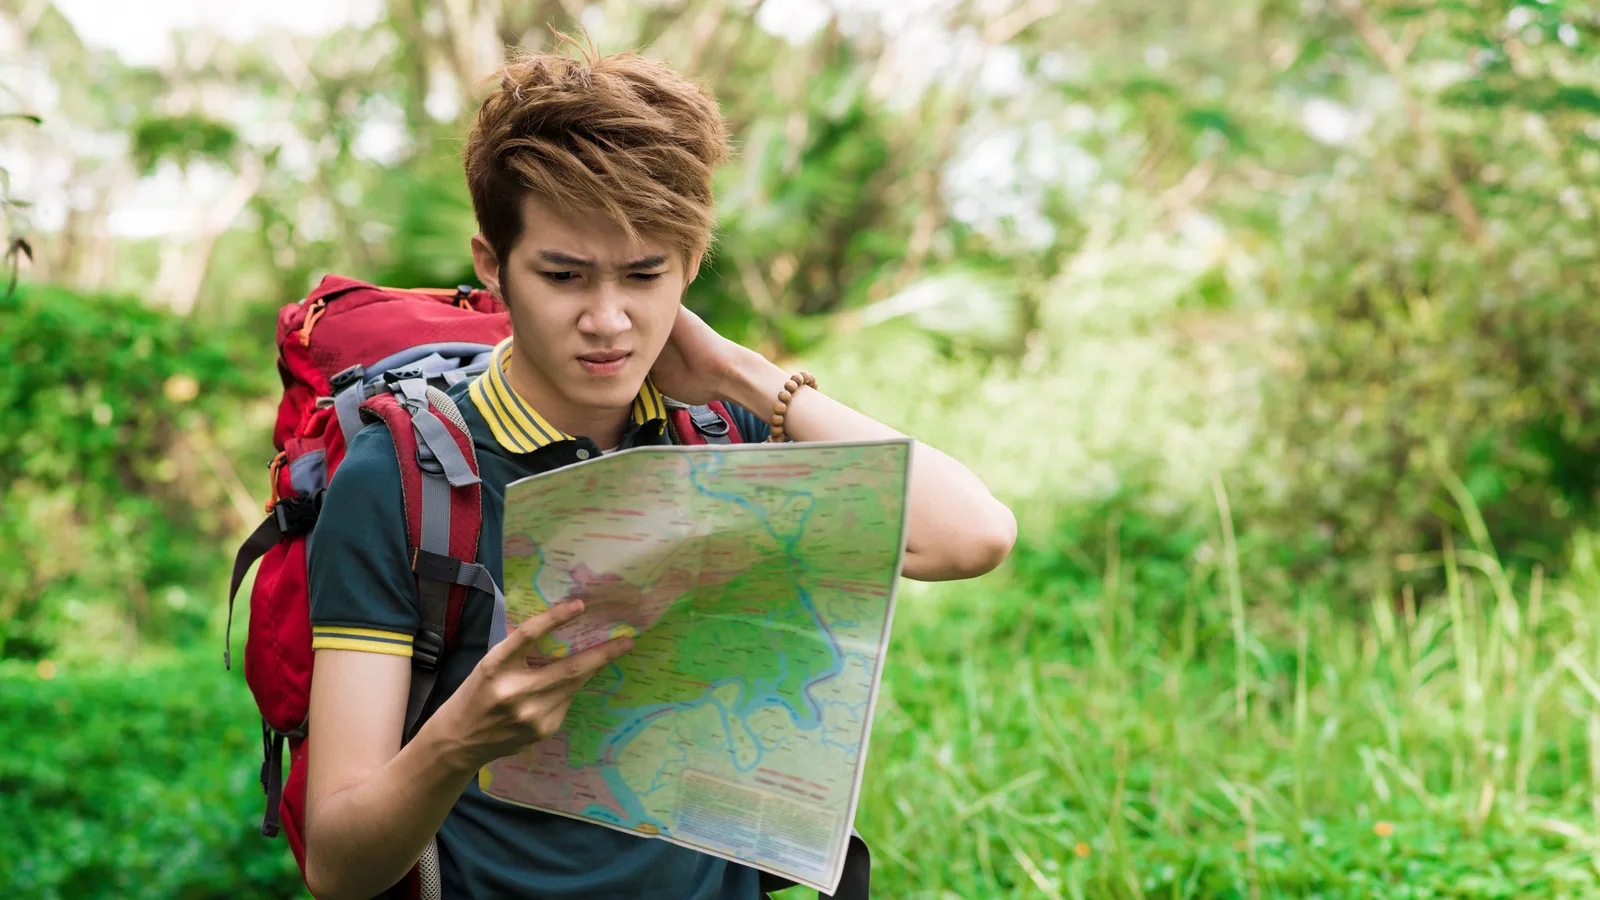
How to Prepare for a Hiking Trip: A Practical Guide
Get ready for a safe, enjoyable hike with a clear plan: choose a route, check conditions, pack smart, train, and know what to do if plans change.
The Short Answer
Preparing for a hiking trip is mostly front-loaded work. Pick a route that fits your fitness and the daylight you have, check the weather and rules for that trail, then build a small kit around the essentials: navigation, water, food, layers, light, first aid, and emergency shelter. Break in your footwear before the trip, tell someone where you are going, and set a turnaround time. The gear matters, but the plan matters more.
Choose a Route You Can Actually Finish
Route choice is the decision that shapes everything else. Match the distance and elevation gain to what you have hiked recently, not to what you hope to do. A 6-mile loop with 2,000 feet of gain is harder than a flat 6-mile walk, and a rough trail takes longer than a smooth one.
- Check the elevation profile, not just the mileage.
- Add time for photos, snacks, creek crossings, and route-finding. Guidebook times often assume steady movement.
- Know the bailout points and whether the route is a loop, an out-and-back, or point-to-point.
- Plan to finish well before dark, with a buffer for delays.
- Look at the start time. A late start can turn an easy hike into a rushed one.
Check Conditions, Permits, and Closures
Trail conditions change faster than guidebooks. Check the land manager's website or office for closures, fire restrictions, hunting seasons, permit rules, parking limits, and seasonal road access. Look at a forecast for the trailhead and for the high point of the route, not just the nearest town; mountain weather can differ sharply from valley weather.
If you plan to refill water, ask whether sources are reliable at that time of year. In winter and shoulder seasons, ask whether the trail is packed, icy, or unmaintained. A trail that is straightforward in summer may require different skills after a storm.
Match Your Prep to the Length of the Trip
A two-hour walk and a three-day backpacking trip need different levels of preparation. Use the comparison below to scale the plan, not to replace it.
| Item | Day hike | Overnight or multi-day |
|---|---|---|
| Navigation | Offline map plus a paper backup | Map, compass, and a route plan for each day |
| Water | Carry enough for the route; plan refills | Identify sources and carry treatment for every day |
| Shelter | Emergency bivy or blanket | Tent, sleeping system, and repair kit |
| Food | Snacks and lunch, plus an extra snack | Full meals plus one extra day of food |
| Emergency plan | Tell someone your route and turnaround time | Leave a detailed itinerary and check-in schedule |
| Training | A few shorter hikes in the weeks before | Practice hikes with a loaded pack and hills |
Pack the Essentials, Then Cut the Extras
The traditional ten essentials are a good starting point: navigation, headlamp, sun protection, first aid, knife or repair tool, fire, shelter, extra food, extra water, and extra clothes. Adapt the list to the trip; a short summer walk needs less than a rainy ridge traverse. Pack by category so you can find things and notice what is missing. Weigh the pack at home; if it feels heavy on the floor, it will feel heavier on a climb.
- Navigation
- Map and compass, plus offline maps on a charged phone
- Light
- Headlamp with spare batteries
- First aid
- Small kit for blisters, cuts, and personal medications
- Sun protection
- Sunglasses, sunscreen, and a hat
- Insulation
- Extra warm layer, even in summer
- Shelter
- Emergency bivy or space blanket
- Food and water
- Lunch, snacks, and water for the planned route
- Repair
- Small knife, tape, and a way to patch gear
Dress for Weather and Protect Your Feet
Layers work better than one heavy jacket. Start with a moisture-wicking base layer, add an insulating layer, and carry a waterproof shell. Avoid cotton next to your skin in cool, wet conditions because it stays wet and pulls heat away. Wear hiking shoes or boots you have already broken in, with socks that fit snugly without wrinkles. Trim your toenails before the trip. On the trail, stop at the first hot spot, dry the foot, and cover it before a blister forms.
Plan Water, Food, and Emergency Backup
Water needs depend on heat, sun, elevation, effort, and how much you sweat. Carry more than you expect to drink on exposed or steep routes, and know whether refill points are reliable. If you treat water, pack the filter or tablets and a backup method. Food should be easy to eat with one hand and stable in a pack: sandwiches, trail mix, fruit, bars, and salty snacks. Carry one extra meal or snack for delays. A small emergency kit—headlamp, whistle, space blanket, and a few extra calories—buys time if the day goes wrong.
Train Before the Trip
You do not need to be an athlete, but you should prepare for the specific demands of the route. If the hike has steady climbing, walk hills or stairs with a pack. If it is long, build up with shorter hikes on back-to-back weekends. Practice using your stove, filter, or tent at home if the trip is overnight. Test your navigation app and paper map on a local trail. The goal is to find problems—rubbing straps, leaking water bottles, a stove that will not light—before they matter.
Your Preparation Timeline, in Order
-
1. Four to six weeks out: choose the route and check the rules
Pick a route that matches your fitness, recent hiking, and available daylight. Check permits, parking, closures, and whether the trail is suitable for your group. Put the dates on the calendar and book transport or lodging if needed.
-
2. Two to four weeks out: test your footwear and build a kit
Take your hiking shoes and pack on a shorter walk. Start a packing list and add the essentials. If you are hiking overnight, do a shakedown trip or set up your shelter at home.
-
3. One week out: check conditions and finalize the plan
Look at the forecast for the trailhead and the high point. Confirm water sources, closures, and access roads. Portion food, charge devices, download offline maps, and print a paper backup. Share the route and schedule with someone who is not going.
-
4. One to two days out: pack and weigh your pack
Lay everything out by category, then remove duplicates and items you will not use. Check that your headlamp, stove, and water treatment work. Pack rain gear and an extra warm layer even if the forecast is dry.
-
5. The morning of: do a final check
Eat a real breakfast, fill water, and check the forecast and alerts one more time. Confirm your turnaround time and the latest hour you can start back. Leave your itinerary with a trusted person and set your phone to conserve battery.
-
6. On the trail: pace, eat, drink, and stick to the plan
Start slower than you think you need to. Drink and snack before you feel empty. Watch the clock and the weather. If you are behind schedule, turn around at your planned time—not when you reach the view.
What Usually Goes Wrong—and How to Fix It
- Starting too late: add drive time, parking, and trailhead time to your plan, then subtract an hour.
- Overpacking: weigh the pack and remove anything you would not carry for a full day. Duplicates add up.
- Underestimating elevation: add time for climbs. A flat-mile pace does not translate to a mountain trail.
- Blisters: stop at the first hot spot, dry the skin, and cover it. Do not wait for the pain to become a limp.
- Running out of water: know refill points and carry treatment. On hot days, turn around earlier.
- Phone dies: carry a paper map and a charged power bank, and keep the phone warm in cold weather.
- Weather turns: carry a shell and insulation, and be willing to abandon the summit.
Trail Safety and Etiquette
Stay on marked trails unless you are trained and permitted to travel off-trail. Yield to uphill hikers, give horses and pack animals plenty of room, and step to the downhill side when they pass. Keep noise low and give wildlife space; never feed animals. Pack out everything you bring, including food scraps and wrappers. If there is no toilet, follow local rules for human waste, usually by digging a cathole away from water and trails. Check fire restrictions before lighting a stove or fire.
Final Check Before You Leave
- Route and rules: confirm the trail is open and your permit or pass is valid.
- Weather: check the forecast again and pack for the worst hour, not the best.
- Water and food: fill up, pack an extra snack, and confirm treatment.
- Navigation: offline map loaded, paper map and compass packed, phone charged.
- Emergency: itinerary shared, turnaround time set, headlamp and first aid accessible.
- Footwear: shoes broken in, socks dry, toenails trimmed, blister kit packed.
Common Questions About Hiking Preparation
Do I need special hiking boots for a day hike?
Not always. Supportive trail shoes or athletic shoes with good tread can work on smooth, dry trails. Boots make more sense for rough ground, heavy packs, or cold, wet conditions—but only if they fit and are broken in.
How many miles should a beginner hike?
There is no single number. A common starting point is a 3- to 5-mile route with modest elevation gain; choose less if you have not hiked recently or the weather is hot. Increase distance before you increase elevation.
What should I do if I lose the trail?
Stop as soon as you notice. Backtrack to the last confirmed trail marker if it is safe, check your map and compass, and avoid bushwhacking downhill in the hope of finding a road. If you are truly lost, stay put, make yourself visible, and use your whistle and phone sparingly.
How do I keep my phone charged on a hike?
Start with a full charge, close unnecessary apps, use airplane mode where there is no signal, keep the phone warm in cold weather, and carry a charged power bank. Do not rely on the phone as your only navigation.
What is a turnaround time?
It is the hour you turn back regardless of how close you are to the goal. It accounts for daylight, weather, fatigue, and the slower trip home. Set it before you start and tell your group.
Can I hike alone?
Yes, but solo hiking raises the cost of a mistake. Choose a route within your ability, leave a detailed itinerary, carry the essentials, and consider a busier trail. Do not assume you will have cell service.
Related articles
 How to Avoid Jet Lag: A Step-by-Step PlanTrip Guides
 How to Choose a Travel Backpack That Actually FitsTrip Guides
 How to Choose Travel Insurance: A Step-by-Step GuideTrip Guides
 How to Find Cheap Flights: A Step-by-Step GuideTrip Guides
 How to Fold a Suit for Travel So It Arrives Flat and SharpTrip Guides
 How to Pack a Carry-On for a Week: Step-by-StepTrip Guides
 How to Pack for a Ski Trip Without OverpackingTrip Guides
 How to Pack Light for a Trip: A Step-by-Step GuideTrip Guides